But anyway, the fun part: images!
Added flesh tones:
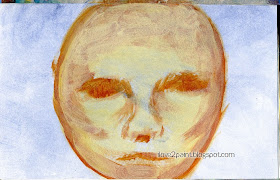
Painting the face features with many translucent layers:
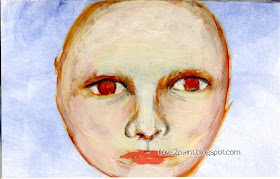
Masked the face to work on the background. I didn't want to make new marks to it.
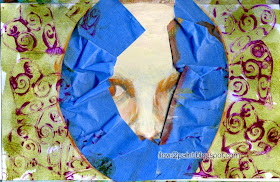
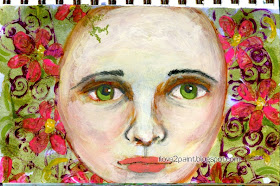
I like how the stamping and colors look all around her:
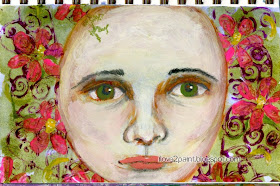
In this last image, I made very subtle changes like the nose, the eyes and lips, can you tell?
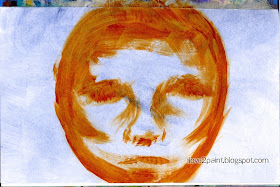
Remember it started like this?: I stained the paper then started to work on the face and went back to finish the "back".
The next page background:
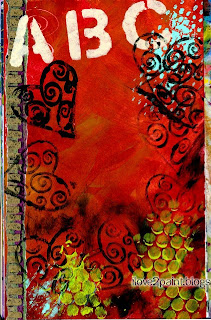
A different approach by making the background layers first with collage, stamps, doodles, and soon it will have a face somewhere in there.
Thanks for visiting!

5 comments:
Nice picture's. Looks like a tutorial this way, but I love to see your painting evolve.
xxx Marianne
Good for you, painting up a storm ;o) Your face with the flowers is very pretty ;o) I love the background and the textures too!
Nice evolution. Always fun to watch a painting grow. The closest thing I have to the long ago days in the painting studio at university.
The stamping works really well and I love her green eyes!
Beautiful! Thank you for sharing the process too. I always learn so much.
Post a Comment
I ♥ all your comments! ~
. .Keep your paintbrush wet!